So my 13 year old has been asking for a while now if he could switch to a larger bed. His twin is pretty cramped so we decided to move him up to double size. I found a great duvet cover at Ikea and knew I wanted to make the headboard and footboard out of doors so I set out to make it. I chose 2 doors that were similar in design for the headboard and footboard. These are 2 less doors I now have to store in our basement so everyone is happy about that!!!
Making a bed out of door is really easy because the doors are already made...so the headboard and footboard are pretty much built. I took a trip to see my friends in the orange aprons (aka The Home Depot) and picked up new wood needed for the side rails, supports etc.
An afternoon well wasted, I came back with the wood and screws needed for the project.
To make the bed frame work you basically measure the mattress and build a frame around that. The side rails have supports along them to hold up the platform that the mattress rests on ( I used 1/2" MDF in this case) and I added extra supports across the width to brace it.
I wanted the headboard to be higher than the door's natural height (or width in this case since it is now on its side) so I added "legs" to it to bring the height up to about 50"....the ceiling in my son's room is sloped since it is on the 3rd floor so I wanted to make sure it would fit on that wall. I also added a top rail to the headboard to make it look more finished.
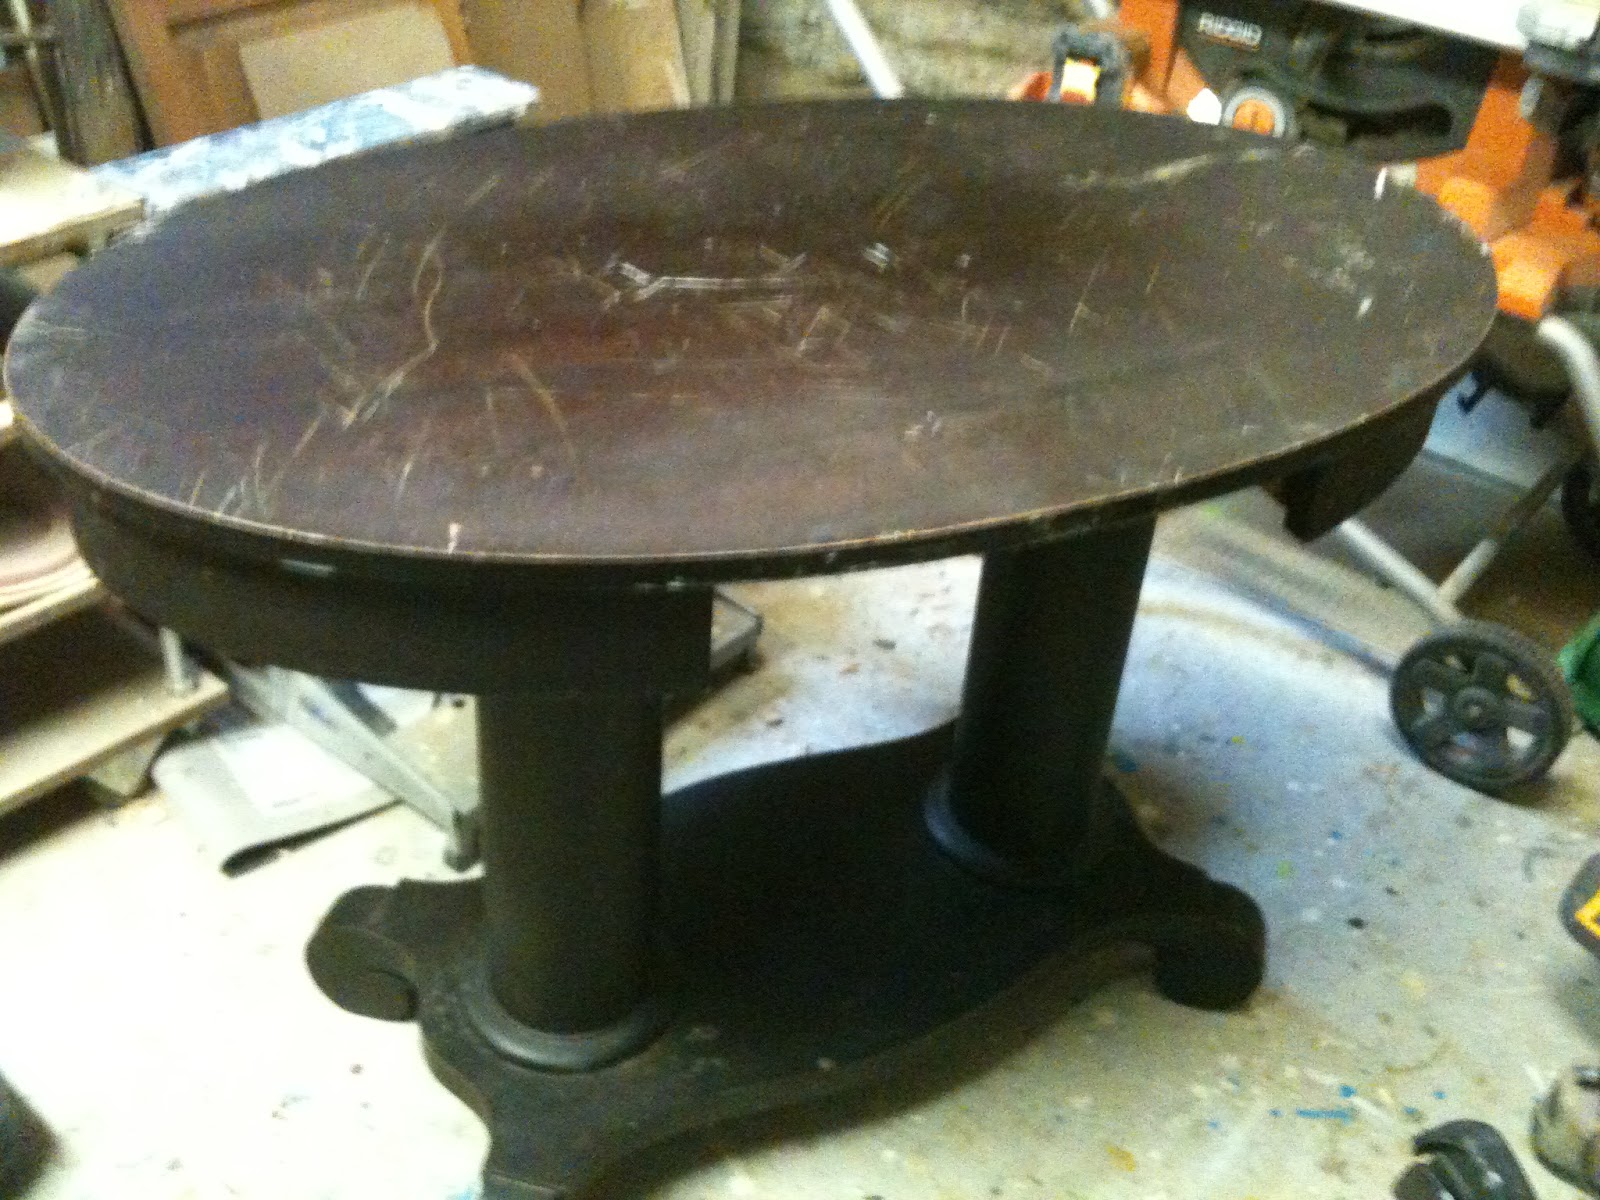
Here's how the footboard looks after I sanded the rough and chipping paint off...I added "feet" to make it stand off the ground a few inches.
I had some left over chalk paint in Graphite from Annie Sloan....
www.anniesloan.com so I put 2 coats of that on the side rails, headboard and footboard....then 2 coats of wax...wax on...wax off....
The great thing about using doors in these situations is that you get a very custom and quality look from something that is already built!! All the detail is there you just need to cut it down to size and add some small details to make it look custom.
I found the bed hardware to put it all together at Lee Valley Tools
www.leevalley.com This place is a great resource to find specialty and reproduction hardware....check here first because they have so much in their inventory. The items I wanted were in stock so I went downtown to pick them up.
I measured the height I wanted the mattress to be from the floor and installed the hardware...no pictures here...I was busy exclaiming about how fun bed hardware is...in case you couldn't guess, that was a joke...bed hardware is NOT FUN...
It finally came together and then I carried all the pieces up to the 3rd floor...from the basement workshop...on a Sunday...needless to say I was already dreaming of a bottle of red!!
Once the hardware is installed, it goes together really easy and then can disassemble just as easily to move it.
Here is how the bed looks in Cam's room...he loves it and so do I...the perfect teen look!!
Cam added his skimboards to the wall for some personality....love this beachy look
I love this colour on the bed frame and can't believe how well it goes with the Ikea bedding!!
Project done...check!! and now on to the powder room vanity...and the final coat to the banquette table ....that is a saga that will be another post...it was the table that almost broke me, but I managed to make it work. Pics and details to follow on that one!
I almost forgot....I had earlier blogged about the faux Restoration Hardware light fixture I found for $2100 LESS than the original online version....I have been asked to post pics of my Homesense version so here it is.....just for you Jan!!
Here is the Restoration Hardware one for $2300 online...
And here is ours from Homesense for $179....would you pay $2100 more for the original?? Apparently it's made from authentic wine barrels, but all I can think of is how many bottles of red I could purchase for that $2100 savings!!!